I turned 30!!

6.09.2014


Yesterday I celebrated my 30th birthday! I cannot believe I'm already 30 years old! Yikes, I guess I'm getting old? And before you tell me I'm NOT old, don't worry I don't actually think 30 is old. I don't even really know what old IS anymore. I definitely don't look 30, although truthfully, I wouldn't mind if I did look a bit older! I have always been mistaken for an age years younger than I am, and I would be lying if I didn't say that has always been a frustration. I shouldn't complain, though. Being mistaken for younger is, I suppose, better than being mistaken for older! In any case, it feels good to be 30. I feel like a real "adult" now!

Jed and I had the most wonderful time spending the entire day together and ending it by watching a silly romantic comedy and also a little Disney flick from the 1960's that I just had to see again (after 20 years). Perhaps the reason I look so much younger is because I'm really a child at heart. I doubt I'll ever get tired of those old 1960's and 70's Disney movies. I enjoy them so much, it's almost embarrassing how happy they make me!

Cheers to anyone else who has a birthday in June!

xx
Anna

Jord Watch Giveaway!

6.04.2014


JORD*, a company that makes wooden watches recently contacted me about reviewing one of their products. I happily agreed and decided on the Fieldcrest watch in black for my husband. After receiving the watch in the mail, I secretly wished I had picked one out for myself! It really is lovely and beautifully made. Jed is very happy with his new watch and I think it really suits him. One thing to note, the watch band is sized for larger wrists so we had to remove two links which required a tiny screwdriver. Once we had the proper screwdriver, it was easy to adjust the size.

Now to the fun part! JORD has kindly agreed to offer my readers a chance to win the Fieldcrest Series watch in black. All you have to do is sign up below and a winner will be chosen in one week. Good luck!


a Rafflecopter giveaway


*I received the watch pictured, courtesy of JORD, in exchange for this review/giveaway.

New in the shop!

5.13.2014


Edit 5/15: I have enough fabric for one more made-to-order Bachelor's Button Dress. When the fabric is gone, I will not be able to get more! I also have one size small ready made! 

I updated my shop with the items I currently have in stock. If you would like something listed in a different size, please feel free to contact me! gracefullady@gmail.com


or


 www.annaallenclothing.com

Anna Allen Clothing: SS2014 Preview

5.12.2014


This season I don't have a big collection to show you because a lot is going on right now while being away from home. But I did want to make a few things for the SS2014 season! This dress is perfect for spring and summer. It's light weight and the fabric is to die for. I bought this fabric from England over a year ago and have been waiting to use it for the perfect garment ever since. This dress is based off of the sleeveless blouse I am also including in this season's collection. It's a staple that can be paired with a sweater or jacket, which is what I love most about this style. This dress is slightly more fitted, with darts in the front and back. I love how it reminds me of a vintage 1960's shirtdress. I hope to have it available this week and will update here when it is ready.

How to curl your hair in less than 20 minutes

5.05.2014


This post contains affiliate links. Scroll down for coupon codes, updated 5/30/16

I thought I would share with you a quick hairstyle I like to do often because it's SO easy and lasts several days. Recently I purchased the NuMe curling wand (I used a coupon which made it very affordable) because I had been reading a lot about how good it was and I was looking for an easier way to curl my hair that would last longer than a day. I love my vintage hot rollers set, but they take a bit more time and they're not always convenient for travel. 

I decided on the 19mm curling wand and I really like this size. I watched a few reviews of the NuMe curling wands and a lot of people were using the 25mm or 32mm, but I wanted a little more curl so I decided to try a size smaller. However, I would really love to try out the larger curling wands and see if I can get a 1970's wave. If I am able to acquire one of those I'll update with another tutorial! 
If you have never used a curling wand before, make sure you use the heat protecting glove (the NuMe wand came with a glove, but I don't really use it anymore). Also definitely put something on your hair to protect it from the heat. I have been using this heat protection spray by Tresemme.

Step 1:  Curl front hair/bangs away from your face. Continue curling the rest of your hair away from your face, grabbing sections and wrapping it around the curling wand until you have curled all of your hair. This does not have to be perfect! The larger the section of hair you grab, the longer you hold it on the curling wand. Every type of hair is different, but mine is pretty thick so I hold the curl anywhere from 20-30 seconds (about 1" or more sections) or more like 10-15 seconds if I grab a smaller (1/2" section). If you have finer hair, hold it on for less time! As you can see in the last picture here, my hair definitely is not perfectly curled! Let the curls cool completely before you move onto the next step.
Step 2: After you have curled the majority of your hair, tip your head back and using your fingers at the roots, "shake" the curls out. At this point, you can add more curls if you think you need more.
Step 3: Take a section at the top of your head, towards the back and tease it with a comb. I like to add a bit of hairspray at this point. I sometimes tease more than one section, depending on how high I want my hair to be.

Step 4: Then curl the teased section of hair, wrapping the hair down around the curling wand. I sometimes add a few more curls around this area. Separate these curls with your fingers.
Step 5: Once I'm all finished curling, I like to add a bit of hairspray (I use Elnett) to add volume so I grab some hair and pull it up while spraying a mist of hairspray underneath the top layer of hair. This adds lots of volume. And you're done! This style takes me less than 20 minutes to complete, and lasts for days! I've found these curls last up to 2-3 days on my hair. I even like how my hair looks on the second day better. If you feel the need to have more curl the second or third day, just heat up the wand and add a few extra curls, which only takes a few minutes. So fast and easy! 
I hope you enjoyed this tutorial and do try it on yourself sometime! Let me know if you have any questions or if you would like other tutorials like this.

xoxo 
Anna

P.S. Here are some coupon codes if you are interested! 


(New discounts! Updated 5/30/16)

ANY wand $28! Use code: PICKONE (expires 5/31)

Buy any wand 50% off, get a FREE Style Setter Straightener and Free Shipping! Use code GETYOURS

Any set $88! Use code ANYSET88 (expires 5/31)

Silhouette Straightener + Argan oil $39. Use code QUICK39


(The codes below may or may not work. Some have expired.)

$110 OFF any set! Use code LOVETHIS

70% off all wands + Free US/Canada Shipping. Use code CURLS70

60% OFF all wands + Free US Shipping. Use code CURLS50

50% off Sitewide (excludes collections, haircare, access) + Free US Shipping! Use code SAVEBIG

Curl Jam + Dryer + WT Shampoo & Conditioner $179. Use code ITSALLGOOD

Megastar + Argan + FREE US Shipping $79. Use code MEGAGOOD

Power Couple Set + Free US Shipping $79. Use code POWERSET

Buy 2 CLASSIC WANDS + Free US Shipping $58. Use code 2FORME

Titan 3 + Free US Shipping $89. Use code 3WAYCURLS

Bold Dryer + Free US Shipping $59. Use code BOLD59

All Sets (including Octowands!) + Free US Shipping $99. Use code 99SETS

White Truffle Collection $49. Use code HAIRCARE


This post contains affiliate links, which means I receive a small percentage of sales if you make a purchase using these links. However, the item featured in this post was purchased by me and I was not paid to write this review/tutorial. All opinions are my own.  

makeup tutorial with cat eyeliner

4.28.2014


I've been having good skin days for the past week (crossing my fingers this lasts) so I thought I would do a makeup tutorial for you all! I tend to do this look quite often, changing up the eyeshadow color and sometimes using other types of eyeliner. This eyeliner is pretty basic and not too dramatic, so it's great for a daytime look. If you're going out, pop on a bit of lipstick and you're all set!


Start off with a clean face, if you usually wear lotion, make sure to allow it to "settle in" before you begin.


Affiliate links included in this post.

I use a matte primer by Boots No7 because my skin tends to get a bit oily after wearing foundation and I think this helps my foundation last a lot longer on my face. I also found I could not live without this primer for when I was having major acne breakouts. It helped keep the foundation in place and also helps to conceal my dry skin (I think I have a combination skin type). It has mixed reviews, so it might not be right for you but I love it!


Today I'm using Revlon Nearly Naked foundation in the color 120 Vanilla. It seems to fit my coloring pretty well and I have a light complexion. I use my fingers to apply it all over my face. I usually start with a tiny amount on my chin and work up, since my chin/neck area is where I have had the majority of my breakouts (although you can't tell in the pictures). I try not to get any near my eyes after a terrible reaction that made my eyes puffy with eczema. I finally figured out the reaction was coming from my foundation and probably because it has spf in it! (I later found out I have a benzoyl peroxide allergy, which caused my eyelids to swell up, even if I used the tiniest amount on my face.) I also use a beauty blender sponge to finish blending in my foundation since it always gets kind of streaky on me when applying with my fingers. I got my sponge at Walgreens. Next use concealer under eyes and on any blemishes.

Using my Lily Lolo mineral foundation in porcelain, I go over my face with a light dusting. This is just what I have so I use it, but you can use any setting powder you have (I have now switched to Rimmel in transparent). Sometimes I skip this step.

I used a taupe colored eyeshadow as a base. I don't have an eyelid primer right now so I didn't use any, but it does make a difference if your eyeshadow tends to crease. Then I used a pretty purple shadow from an e.l.f. eyeshadow book (Warm #85038). I like to build it up starting on the outer edge of my eye. I used the No.07 eyeshadow brush by Sonia Kashuk to apply.

The cat eyeliner takes a bit of practice if you aren't used to applying eyeliner. But it gets easier. I use a lot of different liners, depending on my mood. But this waterproof gel liner by Rimmel is really easy to work with. The color I used is brown 002 and I used an angle brush by EcoTools to apply. The angle brush is just my preference as I've found it's easier for me to make even flicks on each eye. But you can use whichever eyeliner brush you like. I start by making the line on the outer corner of my right eye and then try to copy as closely as possible on my left eye. Then I fill in the rest of the liner along my upper lash line. There are great tutorials on YouTube if you have never applied eyeliner before. Leave a comment if you need recommendations.
After I apply my cat eyeliner, I curl the lashes with my favorite eyelash curler by Shu Uemura (a present from my sister!). I highly recommend you don't skip this step. It makes ALL the difference, believe me! Then I apply my mascara. I use waterproof, since other types of mascara always seem to uncurl my lashes (so annoying). My all time favorite and the one I always go back to is the Voluminous Million Lashes mascara by L'Oreal (my favorite drugstore brand) in black noir. I use a separate mascara for my bottom lashes as I have trouble with smudging. For some reason the cheap CoverGirl waterproof mascaras never smudge when applied to my lower lashes. I'm using the Exact Eyelights mascara in black gold
The last step is adding a bit of blusher, although I decided here to add only bronzer. This one is from a Laura Mercier palette (another gift, which I just adore). But use whatever blush you like. I also really love the Tarte blush in the Aqualillies for Tarte palette (similar Tarte palette) from last year (another gift!).

That's it! I hope this was helpful! I know, this is rather lengthy! Maybe someday I'll do some beauty video tutorials instead. I'm sure it would be loads easier than trying to take pictures!! Let me know if you have any questions. Thanks for reading! 

xx
Anna

P.S. I didn't use anything on my lips other than plain old Vaseline. :)

Book Review: The Little Book of Thin

4.24.2014

Affiliate links included in this post.

I happened upon this book purely by accident a few weeks ago and was hooked after reading only a short excerpt. It looked exactly like the kind of book I needed to read so I picked it right up and read it straight through in one afternoon! It’s really cute and small enough to fit into a handbag, which I think is very convenient! The illustrations throughout the book are too adorable. I also like that this is not really even a diet plan, so the author doesn’t give you a strict diet you have to follow. It’s more like a lot of healthy tips and tricks on how to stay slim or lose the extra 5-10 pounds you might be having a difficult time losing. And she does NOT advocate calorie counting, which I absolutely LOVE! I also appreciate that the author has a masters degree in nutrition. When I read that she likes eating sprouted grain bread, prefers grass fed beef (I can’t always afford it, but I like eating it when I can), and that she believes fat free milk and soy products (besides fermented soy) are unhealthy, I instantly knew I was going to like her. It’s nice to have an updated health book that is not all about the low fat and processed diet foods. I just don’t see how so many people are still buying into the highly processed, fake fat free food hype! Fat free should be a thing of the past, but unfortunately a lot of people still think fat free foods are good for you. I’m happy to say Lauren Slayton actually discourages highly processed and fat free foods in her book.


There are a lot of great tips throughout the book, and while I don’t agree with all of them, I don’t think the author’s intention is to force me to do everything she says. For instance, she says you should be doing 180 minutes of cardio a week or 100 minutes if you are just starting out. I’m sorry, but even 100 minutes of cardio seems like a little bit much to me! I love going on hikes and walks on a regular basis, don’t get me wrong, but I hate the thought of all that cardio! I also happen to think you can do other types of exercise that take less time and can be more beneficial. Of course I’m no expert, so I could be wrong! My favorite type of exercise (for someone who HATES exercise) is the kettlebell swing, which is an exercise combining both cardio AND weight training! I have only been doing it for a short time, but so far it’s the best kind of exercise I’ve ever done, and I don’t even need to step outside my living room to do it! I am trying to do it 2-3 times a week at about 15-20 minutes per workout (as a beginner). It’s not easy, but it’s a lot more fun than running on a treadmill for an hour! And I feel it makes a bigger difference on my body in a shorter time compared to when I tried doing only cardio workouts. Even if I get in one workout a week, I know it was a really good workout.


Anyway, back to the book! I think one of the main points the author is trying to make is that you need to build lasting habits that you will stick to if you want to stay thin and healthy throughout your life. Crash dieting may work for losing weight in the short term, but you are unlikely to keep it off unless you figure out a habit you can stick with. And she has loads of tips to help you plan it all out. Again, not all of her suggestions fit into my lifestyle, but many of them do. She really stresses the importance of planning your meals ahead of time. You will have much more success if you take a little time each week to plan a menu. I have always done this, but I haven’t always planned out my snacks. I think that is my problem, snacking way too often, even when I’m not really hungry. So if I can plan out what snacks to have in advance, and wait until snack time to have it, I am much more likely to eat the amount that I need and not over indulge.


I really enjoyed this quick read and it’s a refreshing change from your average diet book. It also has some fun and interesting recipes with minimal ingredients. I like her simple salad dressing recipe that is made up of only three ingredients, miso paste being the featured ingredient (new to me, but unique and flavorful). If you are looking to lose a few pounds or worried about staying thin as you age, you might be interesting in checking this out. It’s one of those “diet” books I actually wouldn’t be embarrassed to read in public!

xoxo
Anna

Brand New Blog!

4.22.2014

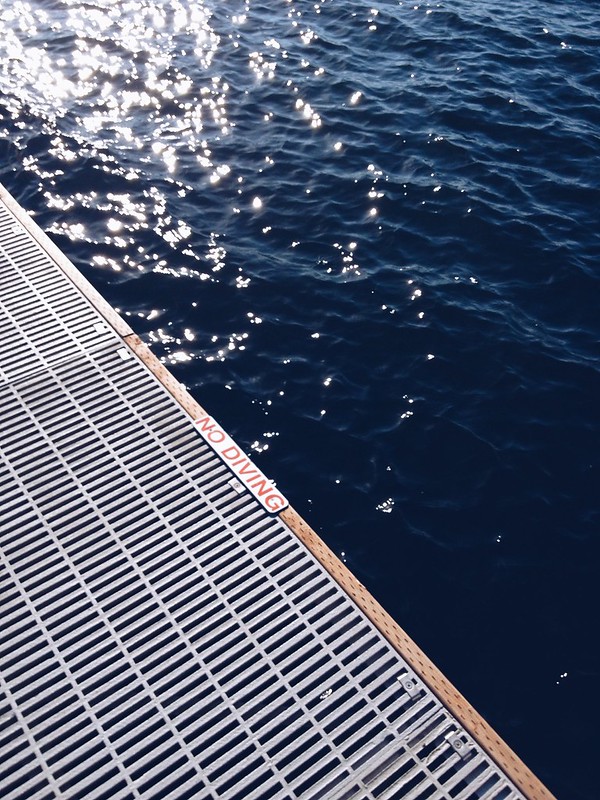
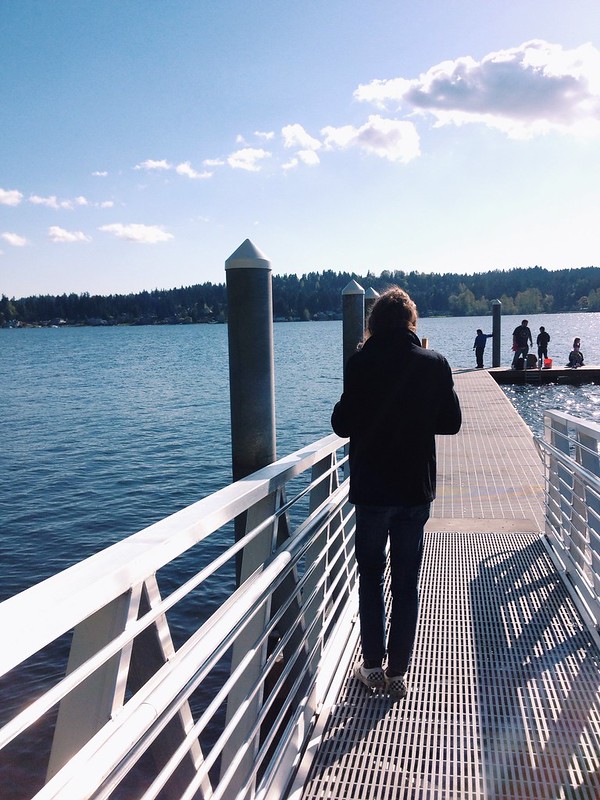
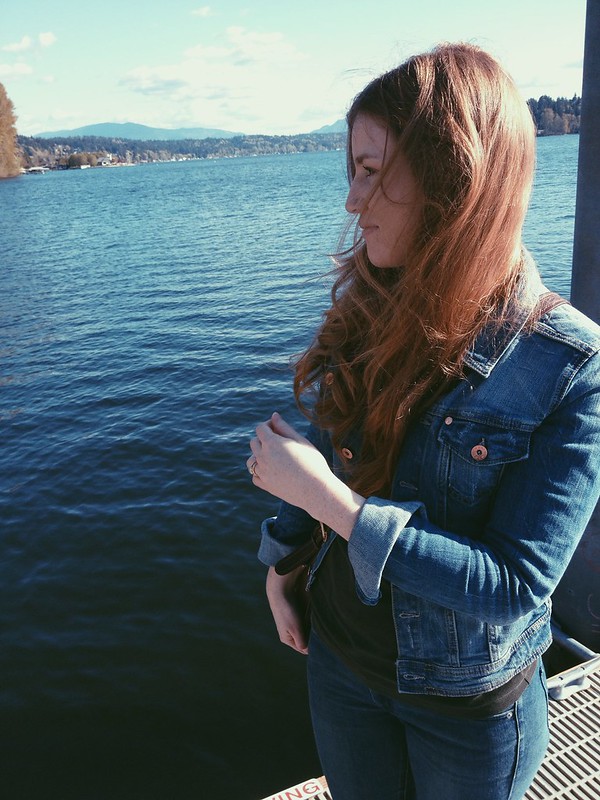
Lake Sammamish Lake Sammamish Lake Sammamish Lake Sammamish Lake Sammamish

If you haven’t noticed already, my blog has a new look! And a new name and url address! Please feel free to change your links to www.annamcclurg.com. However, the old link will redirect to my new address automatically. It took me forever to figure out which name to finally use for this blog, but I was annoyed with my previous name (Wildflowers::Pretty) which doesn’t really make sense. And I was getting sick and tired of “gracefullady” because that name really doesn’t belong anymore. Plus even if I wanted that name, the domain name is already taken. I decided to simply use my name and call it good. I know it’s boring, but I just couldn’t think of a creative name that I liked! I hope it isn’t too confusing, since I already have a website with my maiden name “Allen.” But “annamcclurg.com” was available so I snapped it up while I could. And now that I have my very own url, I can drop the “blogspot” and hopefully that will make my blog look a little more legit! What do you think?

I have been trying to think of ways to “reinvent” my blog for a long time now and I thought a face-lift and a proper url was just the thing I needed to get started. I have a lot of interests, more than just sewing and I think it would be fun to share these here. I would love to write more beauty posts, maybe some makeup and hair tutorials. Or even some book reviews or product reviews. Maybe even share some of my daily routines with you? What do you guys want to know? Lately I have been reading a cute little diet book (I’m really not one to “diet”!) that I recently discovered called The Little Book of Thin which talks about how to create healthy eating habits to stay slim without getting into a dieting trap. I could write my thoughts on this book if you are curious. I’ve also been working on clearing my skin with a few herbal supplements and would be happy to talk about what I’ve been doing to clear up my hormonal acne (it got really bad from going off bcp recently). I also have some fun curling wand tutorials that I would love to share. I have been getting pretty good at my cat eyeliner flick and I’m always experimenting with fun ways to do 1960’s inspired makeup on myself. Would you be interested in some beauty tutorials like that? And of course I like to update you on what I’ve been working on over at Anna Allen Clothing, from time to time. Including what I’ve been sewing and fashion related topics. I would absolutely LOVE to hear what you are most interested in reading about here on my “new” blog! Feel free to comment here or email me if you have any suggestions!

xoxo
Anna

P.S. I finally figured out a way to reply to individual comments. I don’t know why I hadn’t figured that out before! So now it is much easier for me to reply to questions and comments in the comment section of each post. 


Images from a recent afternoon at Lake Sammamish, Washington.